


A Step-by-Step Guide to Replacing Kitchen Faucets on Your Own
Replacing an old or malfunctioning kitchen faucet can seem daunting, but with the right tools and guidance, you can do it yourself in no time! Whether you're looking to upgrade your kitchen's functionality or refresh its style, this guide will take you through each step. Plus, we'll highlight some top-quality kitchen faucets that you might want to consider for your next project.
Tools You'll Need
Before you begin, gather the following tools:
- Adjustable wrench
- Basin wrench
- Screwdriver
- Plumber’s tape
- Bucket or towels
Step 1: Shut Off the Water Supply
Start by locating the water valves under your sink. Turn them clockwise to shut off the water supply. This will prevent any leaks while you're working on replacing your faucet.
Step 2: Detach the Old Faucet
Place a bucket or towel under the sink to catch any remaining water. Use a basin wrench to loosen the nuts holding the old faucet in place. Carefully remove the faucet and clean the area around the sinkholes.
Step 3: Install the New Faucet

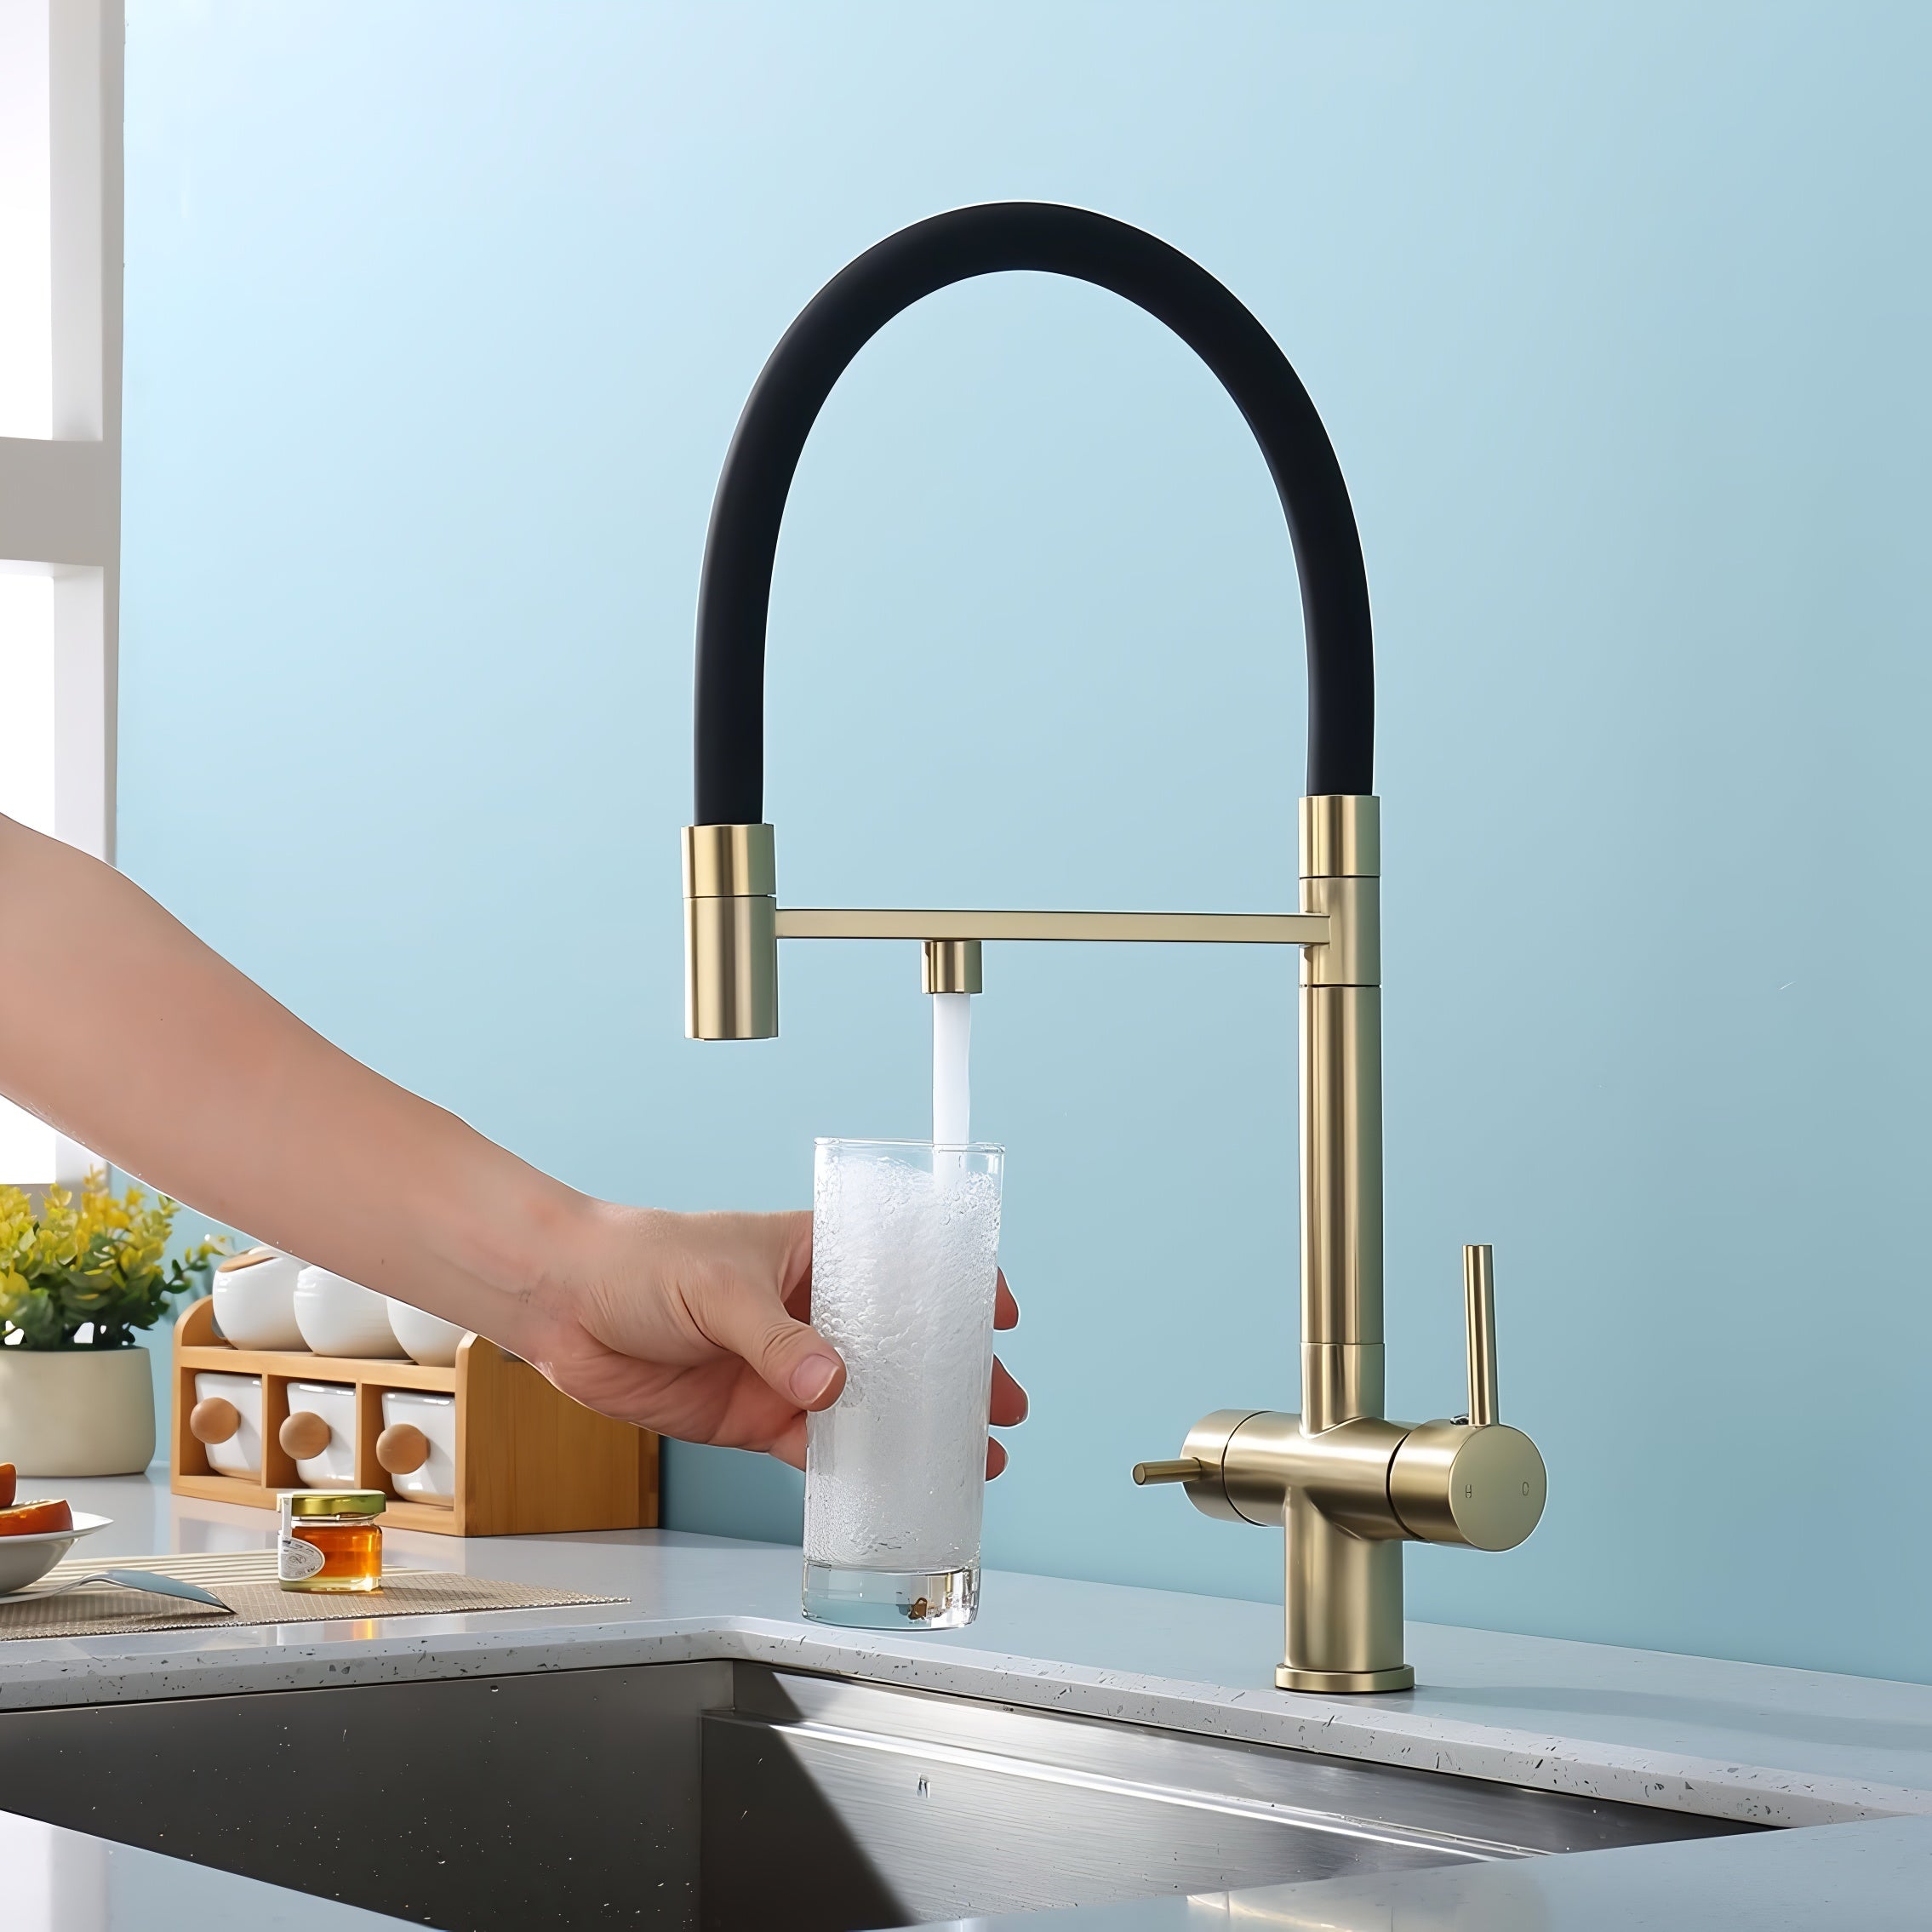
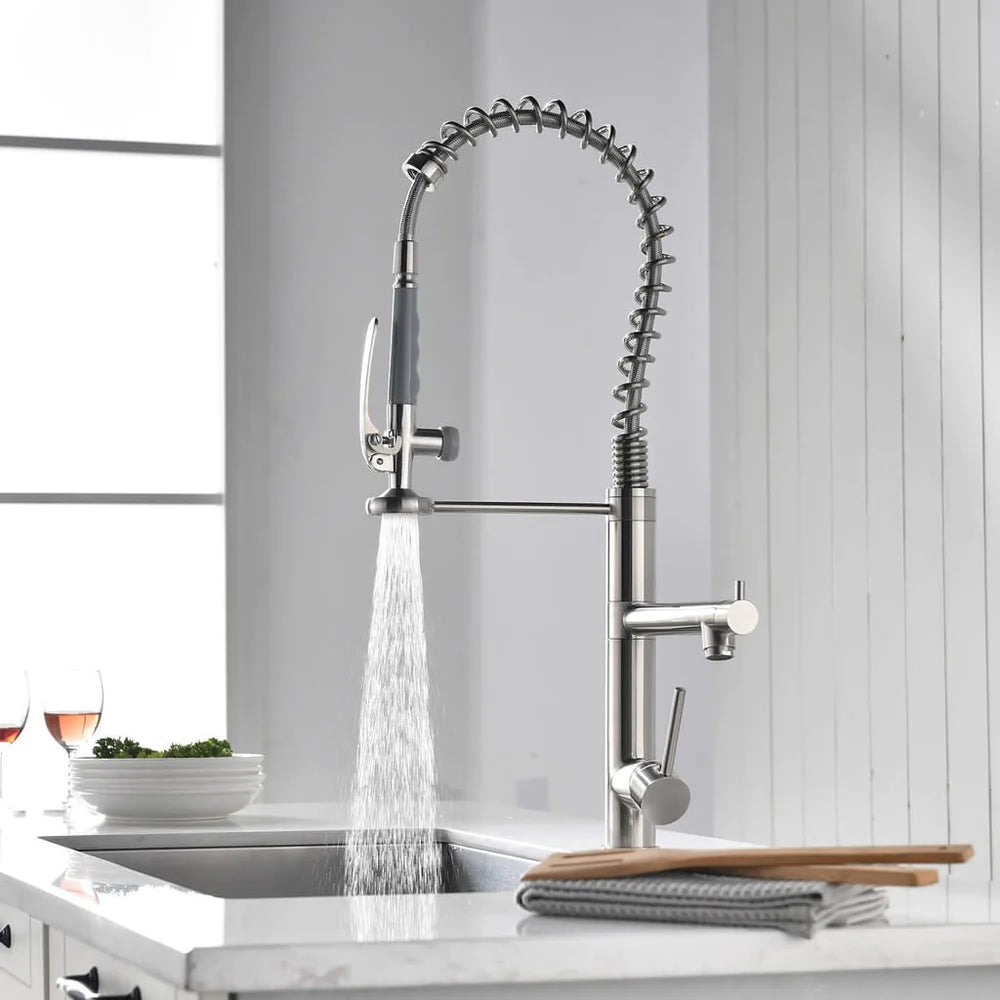
Select a new kitchen faucet that suits your preferences. The Halmstad - Single Hole Pre-Rinse Pull-Down Sprayer Spring Spout Kitchen Faucet is an excellent choice for a modern and functional kitchen. If you prefer a faucet with filtration capabilities, the Husavik - Three-Way Kitchen Faucet with Filter Tap Reverse Osmosis Compatible and Pull-Down Spout is worth considering.
Place the new faucet in the holes on your sink, ensuring it's aligned correctly. Secure it with the nuts and washers provided, using the basin wrench to tighten them.
Step 4: Connect the Water Supply Lines
Attach the hot and cold water supply lines to your new faucet. Wrap plumber’s tape around the threads to ensure a tight seal. Use an adjustable wrench to tighten the connections.
Step 5: Test the New Faucet
Turn the water supply valves back on and run the faucet to check for any leaks. If everything is sealed properly, you can enjoy your new kitchen faucet!
For a broader understanding of choosing durable kitchen faucets, read The Ultimate Checklist for Selecting Durable Kitchen Faucets.
Final Thoughts
Replacing your kitchen faucet can refresh your culinary space with both style and functionality. For more kitchen and bathroom upgrades, explore the extensive collections of bathroom faucets available at Paragon Faucets. Don't forget to visit Paragon Faucets for more innovative products and inspiration.
Happy DIYing!

Read more
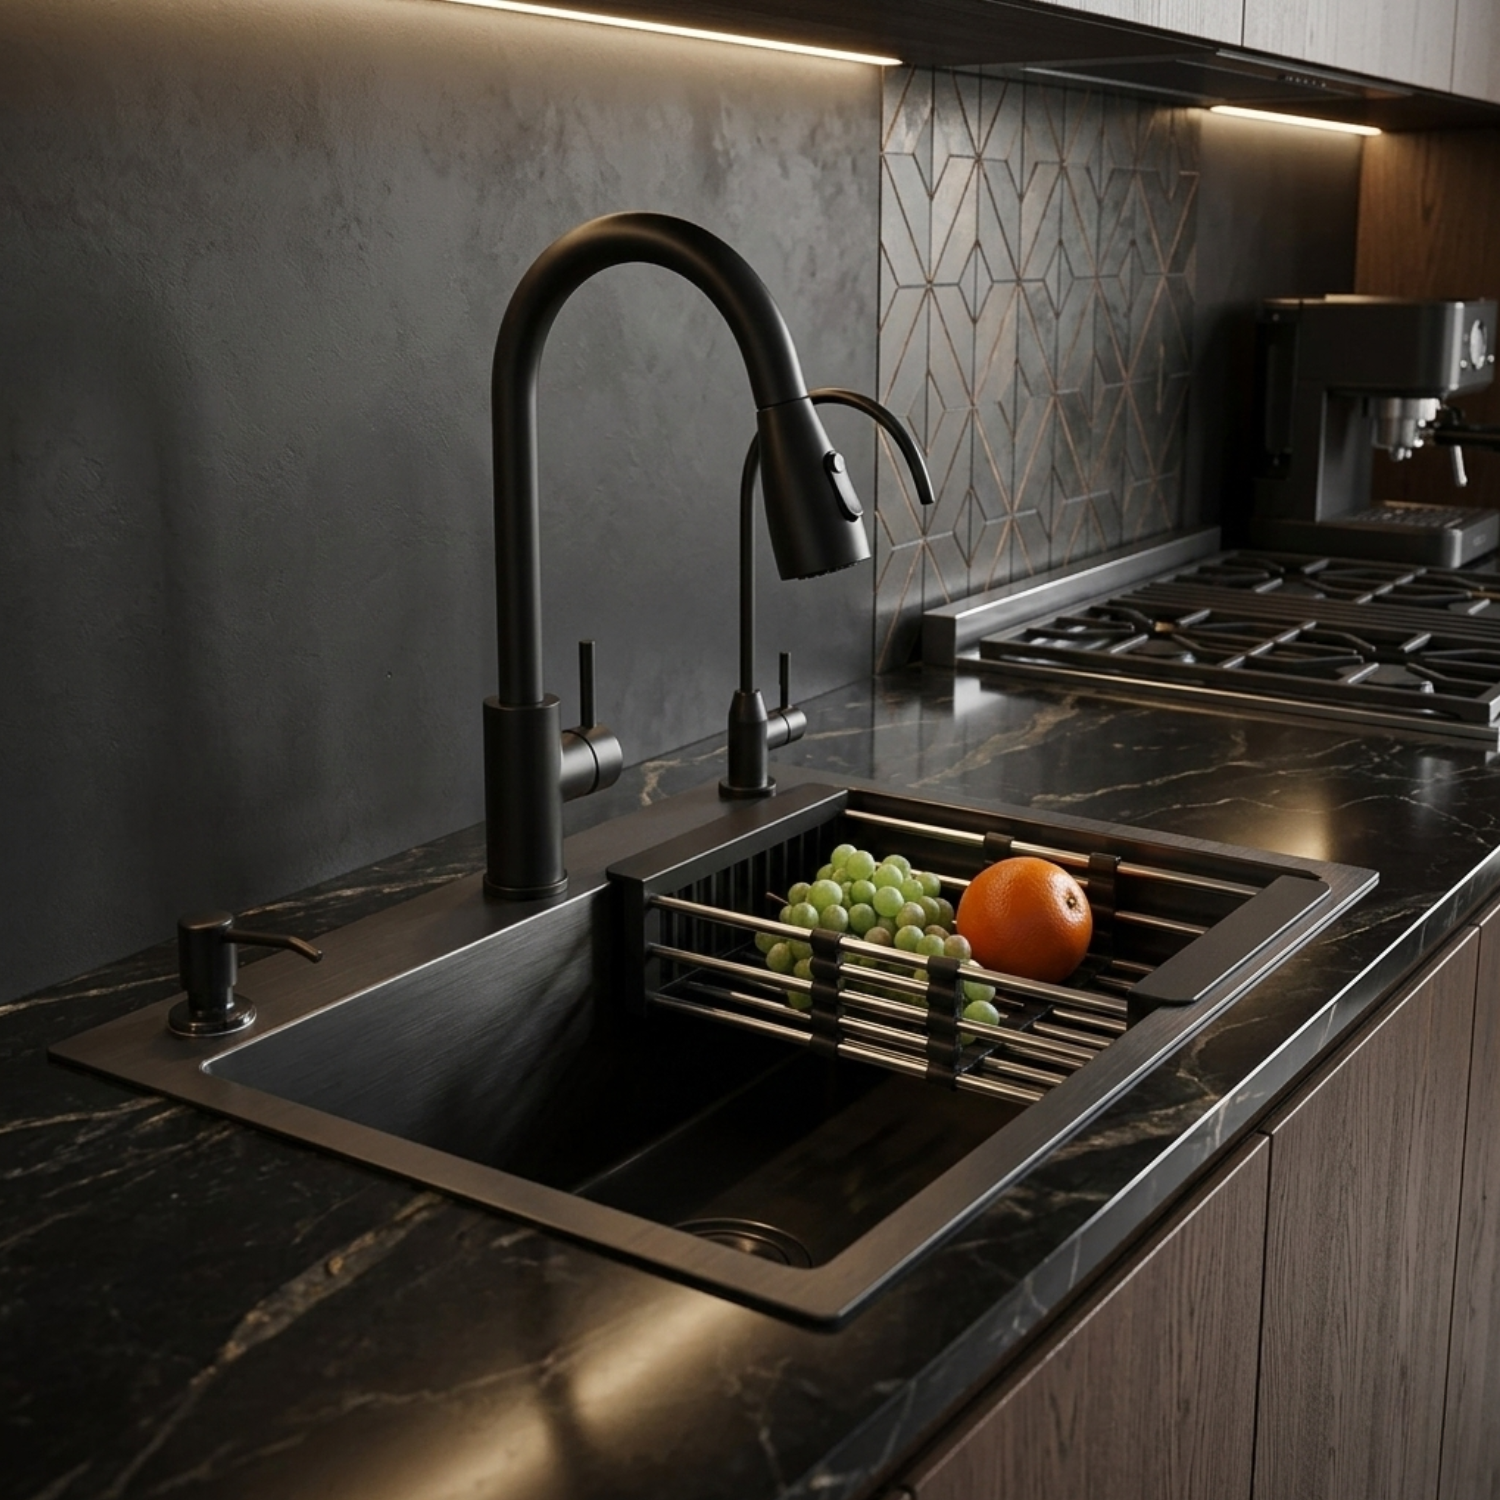
Discover the Advantages of the Staldvik Kitchen Sink System with Pull-Out Faucet for a Modern Home
In the pursuit of a modern and efficient kitchen, every detail matters. The Staldvik Kitchen Sink System with Pull-Out Faucet is a premium choice for homeowners seeking both style and functionality...
Read more
Understanding Water Efficiency Features in Bathroom Faucets
When selecting bathroom faucets, understanding water efficiency features is crucial for both environmental and monetary savings. Whether you're revamping your kitchen or bathroom, choosing the righ...
Read more