
Article: Step-by-Step Guide to Installing Your Own Kitchen Faucets
Step-by-Step Guide to Installing Your Own Kitchen Faucets
If you're looking to give your kitchen a fresh new look, installing a new kitchen faucet can make all the difference. Not only is it a practical upgrade, but it can also add a touch of elegance and modernity to your cooking space. This guide will walk you through the steps of installing your own kitchen faucet, ensuring a successful DIY project.
Tools You'll Need
Before you begin, gather these essential tools:
- Adjustable wrench
- Basin wrench
- Plumber's tape
- Screwdriver
- Bucket or towel (to catch any water)
- Safety glasses
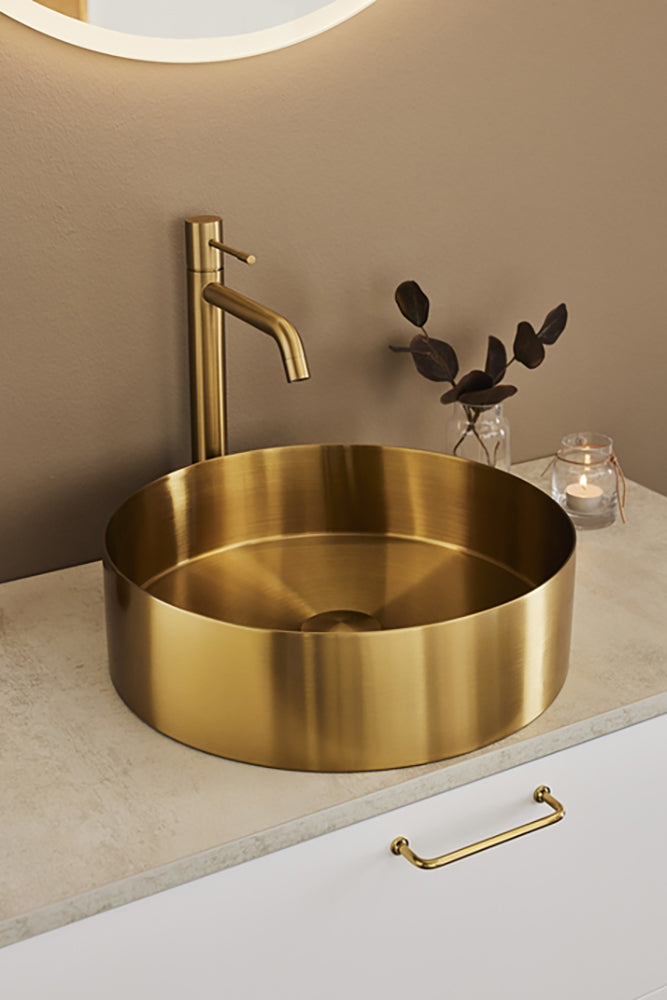
Step 1: Choose Your Faucet
![]()
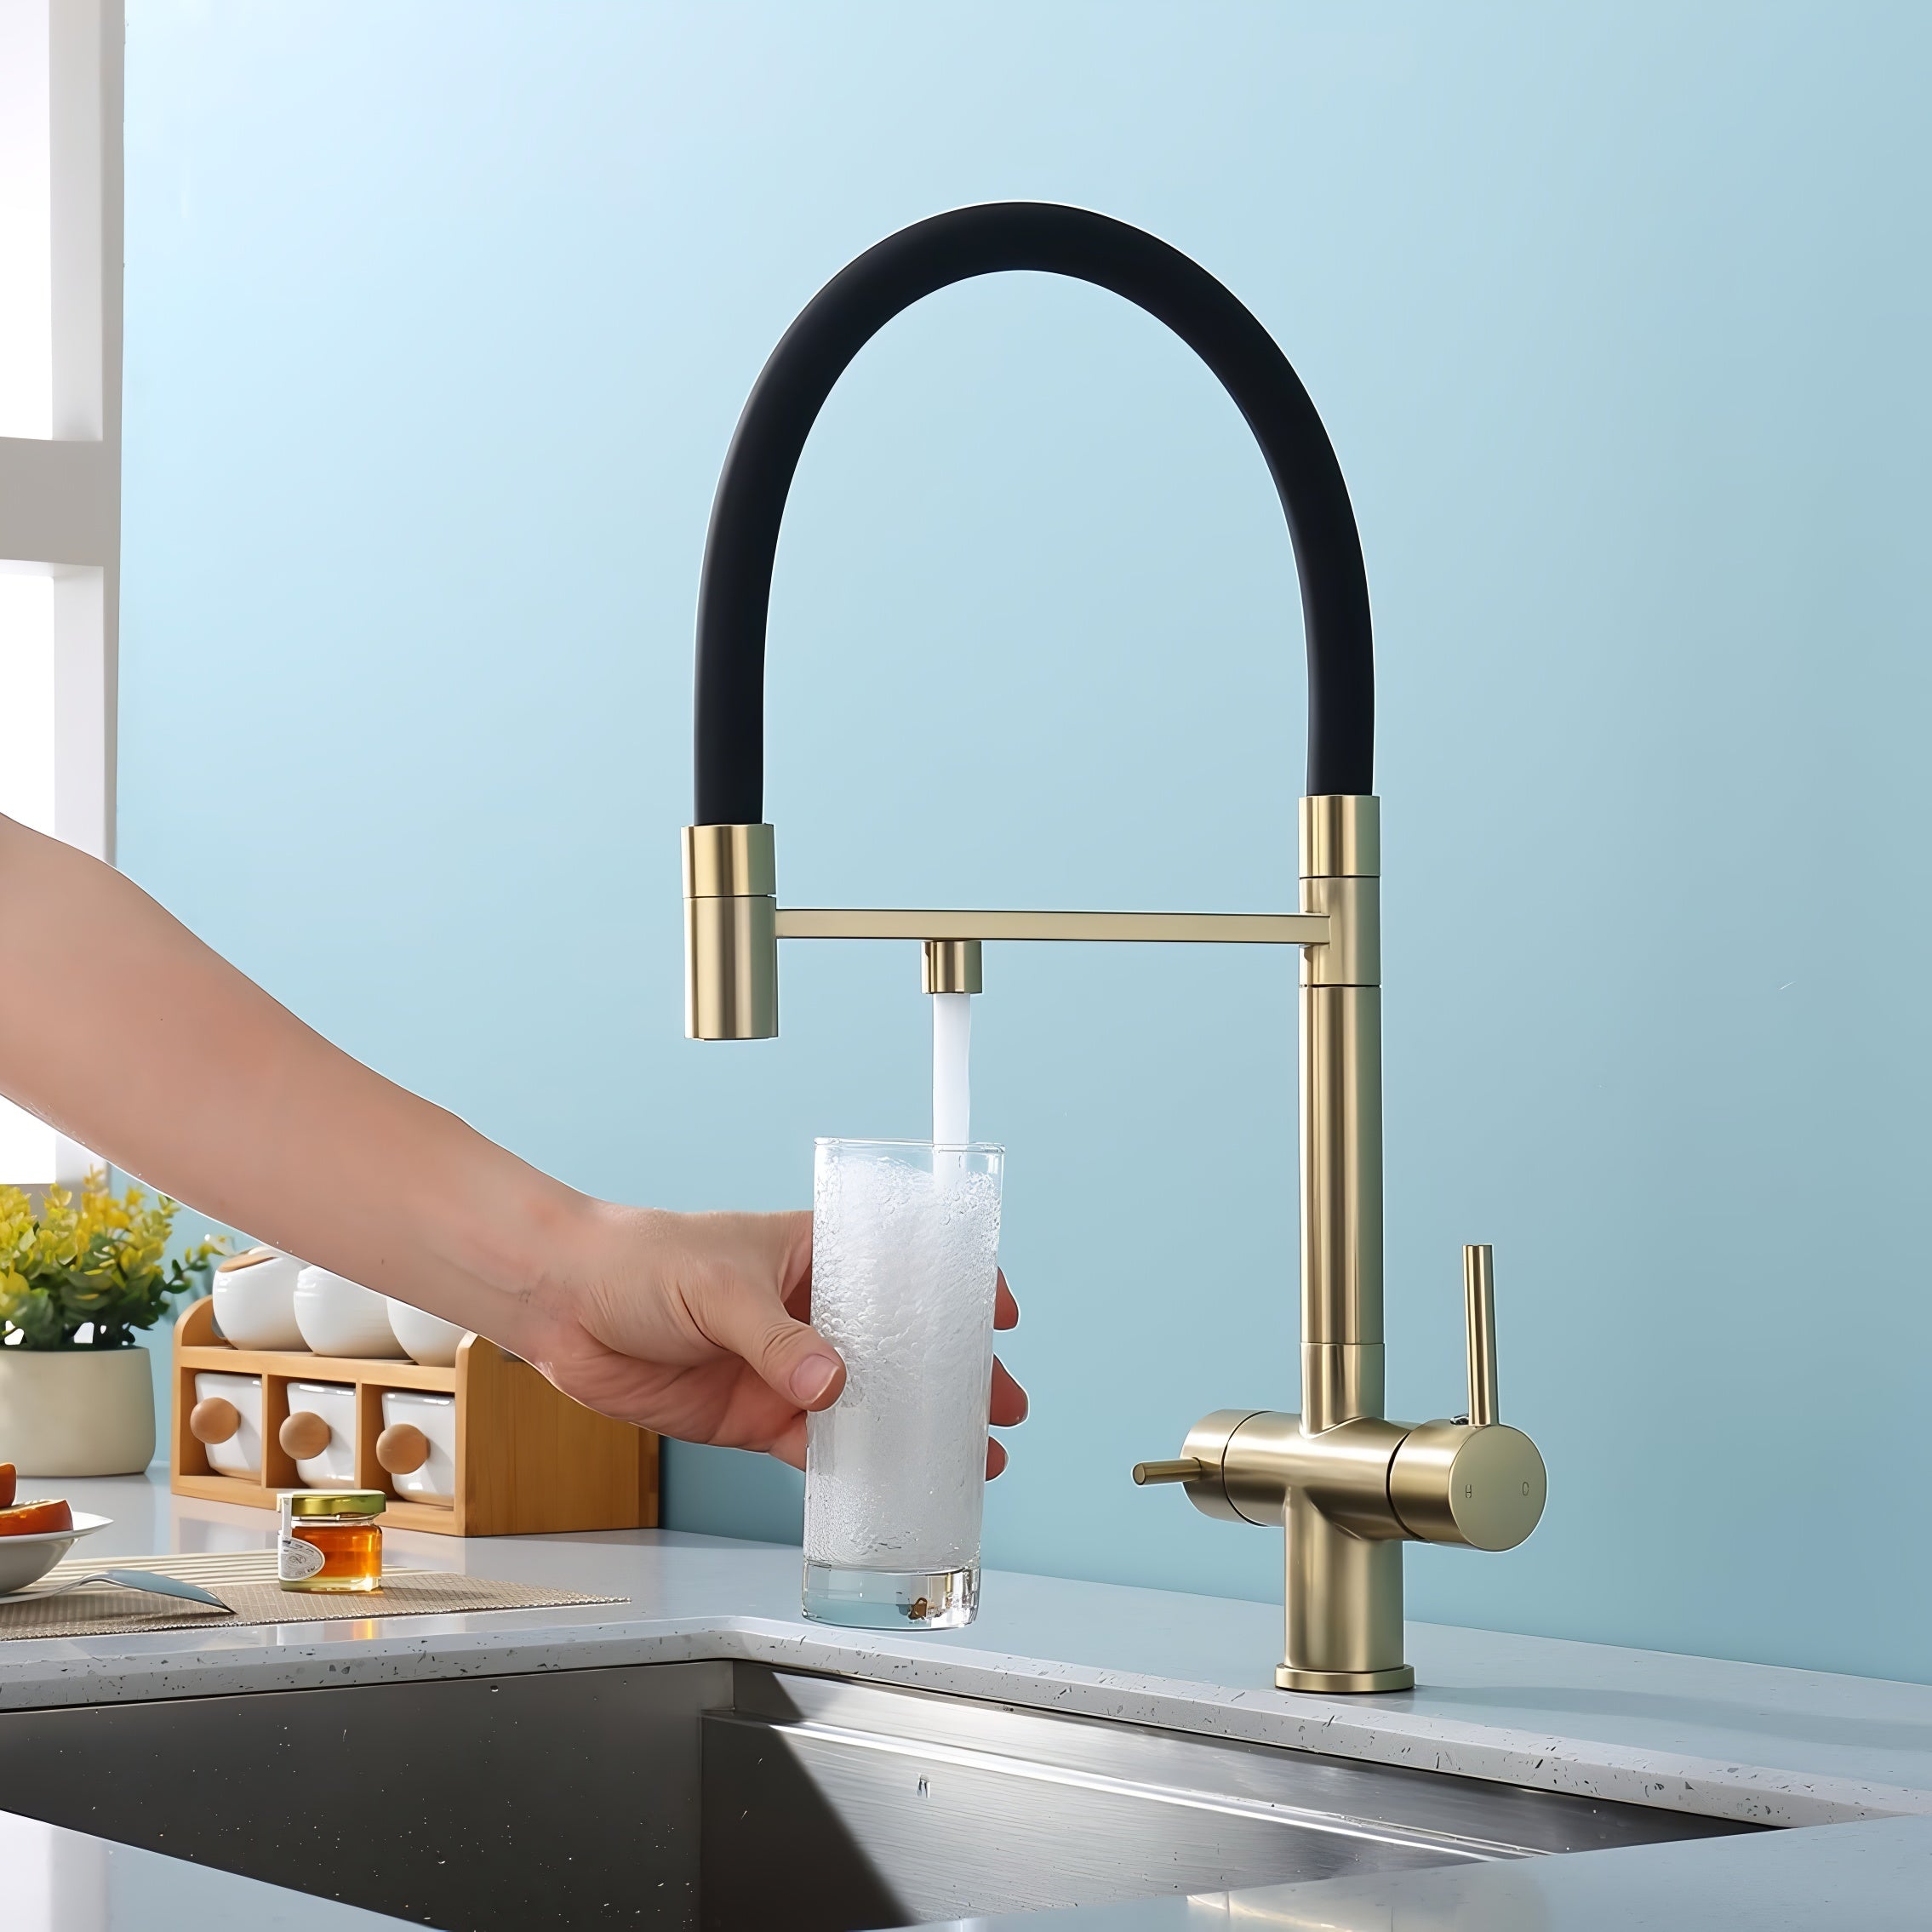
Choosing the right faucet is crucial. Consider options that match your kitchen's aesthetic and offer functional benefits. Paragon Faucets offers a wide range of kitchen faucets.
- Faaborg - Pull-Out Kitchen Faucet: This faucet features a sleek design and adds versatility to your kitchen tasks.
- Halmstad - Single Hole Pre-Rinse Pull-Down Sprayer Spring Spout Kitchen Faucet: Perfect for those looking for a professional-grade setup.
- Stavanger - Professional Pull-Down Kitchen Faucet With High Arc: Offers a high arc for added clearance and convenience.
Browse the complete Kitchen Faucets collection for more options.
Step 2: Remove the Old Faucet
- Turn Off the Water Supply: Locate and turn off the water valves under your sink.
- Drain the Lines: Open the faucet to release any trapped water.
- Disconnect the Supply Lines: Using an adjustable wrench, disconnect the water supply lines from the faucet.
- Remove the Old Faucet: Use a basin wrench to loosen and remove the nuts securing the faucet to the sink. Carefully lift the old faucet out.
Step 3: Install Your New Faucet
- Prepare the New Faucet: Follow any specific manufacturer instructions included with your new faucet.
- Position the Faucet: Insert the new faucet through the sink's holes.
- Secure the Faucet: From underneath the sink, reconnect the securing nuts and tighten them using the basin wrench.
- Reconnect the Water Supply Lines: Use plumber's tape to wrap the threads before attaching the water lines to prevent leaks.
Step 4: Test the Installation
- Turn the Water Supply Back On: Gradually turn the valves to let water flow.
- Check for Leaks: Run the water and inspect the connections for any signs of leakage. Tighten connections as necessary.
- Test the Faucet Operation: Ensure smooth movement and check both hot and cold functions.
Additional Resources
For a deeper dive into selecting durable kitchen faucets that will last, check out our blog post on The Most Durable Kitchen Faucets That Survive the Test of Time.
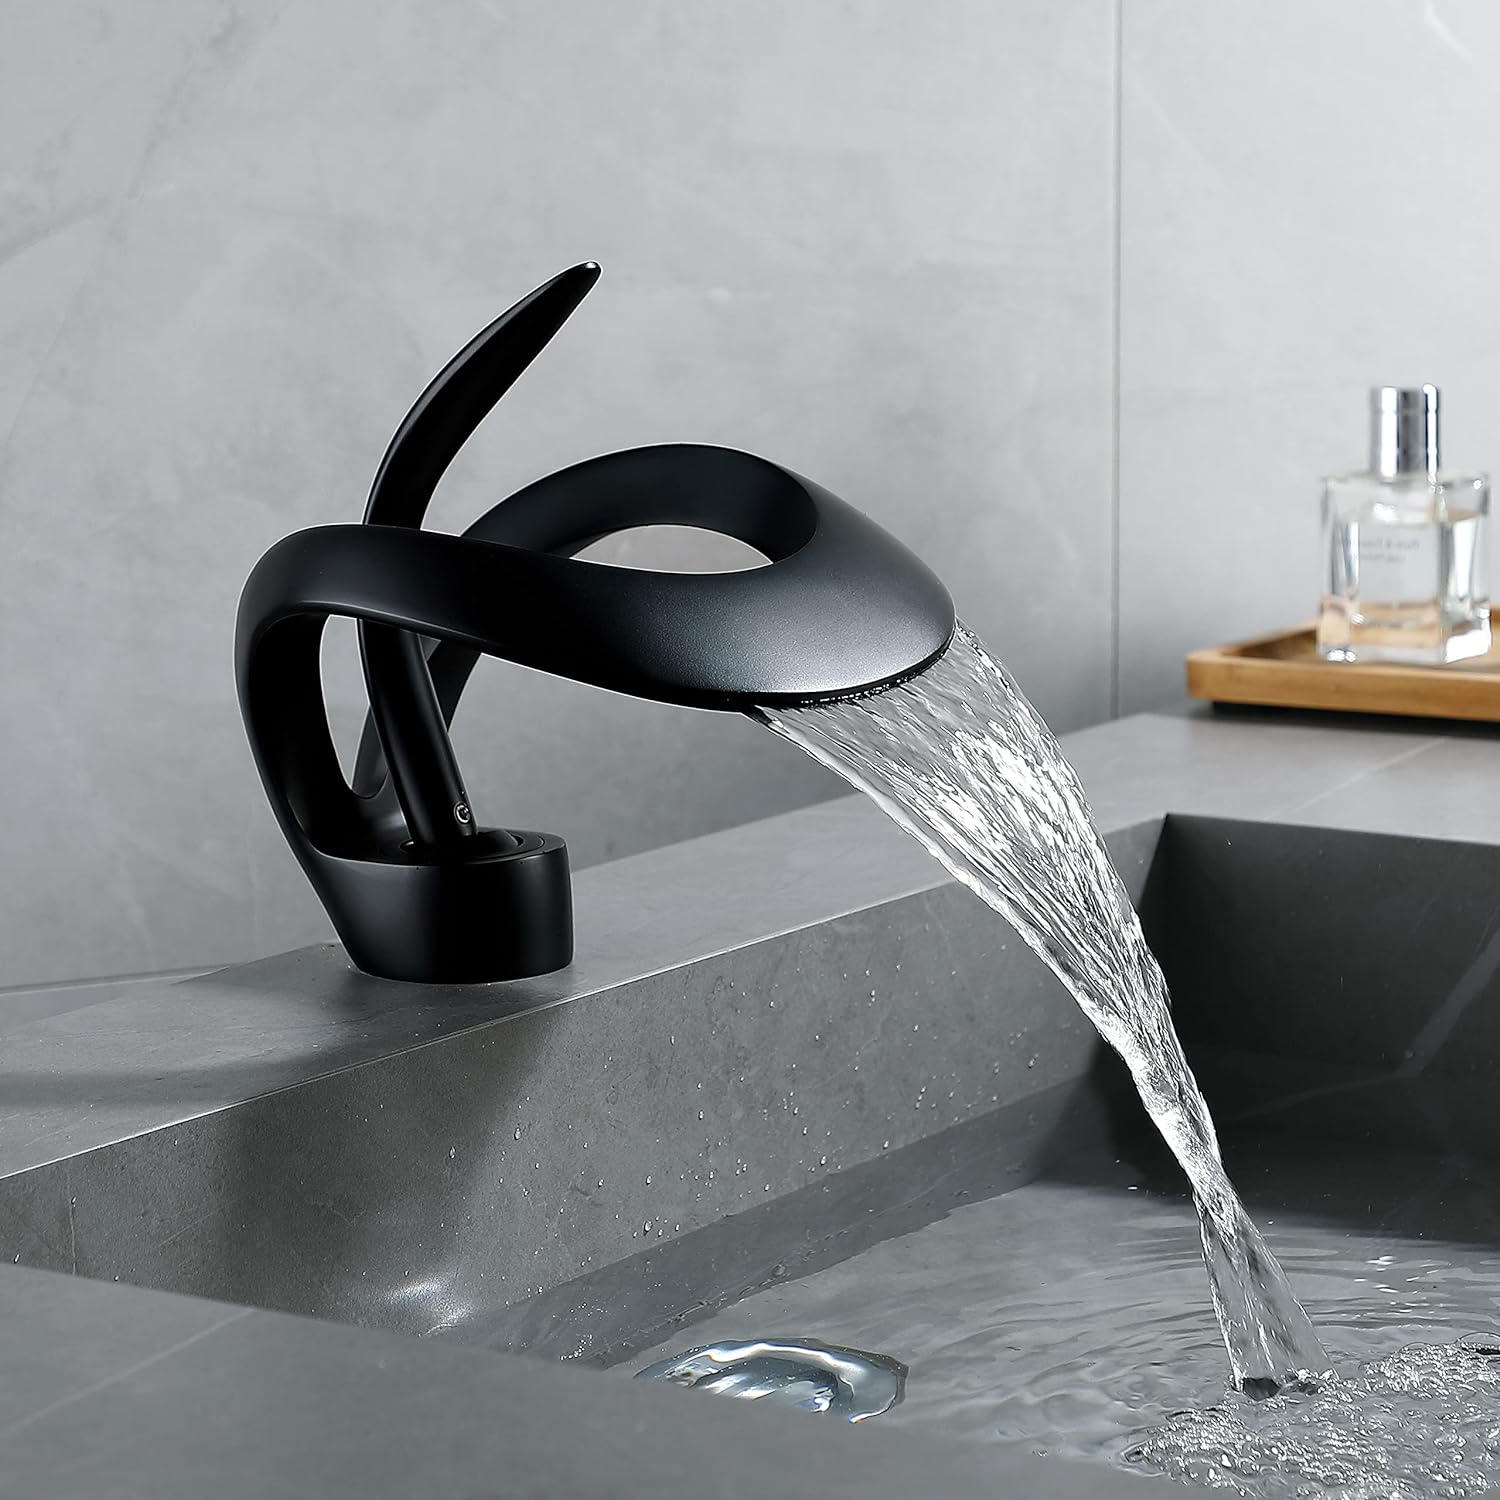
If you're also in need of bathroom upgrades, explore our Bathroom Faucets collection to find your style.
Congratulations! You’ve successfully installed your new kitchen faucet. For more products and styles, visit Paragon Faucets.


Read more
Winter mornings can be daunting, especially when the chill of the bathroom floor greets you first thing in the day. However, with the Nuremberg Towel Bar Warmer, you can transform your morning rout...
Read more