

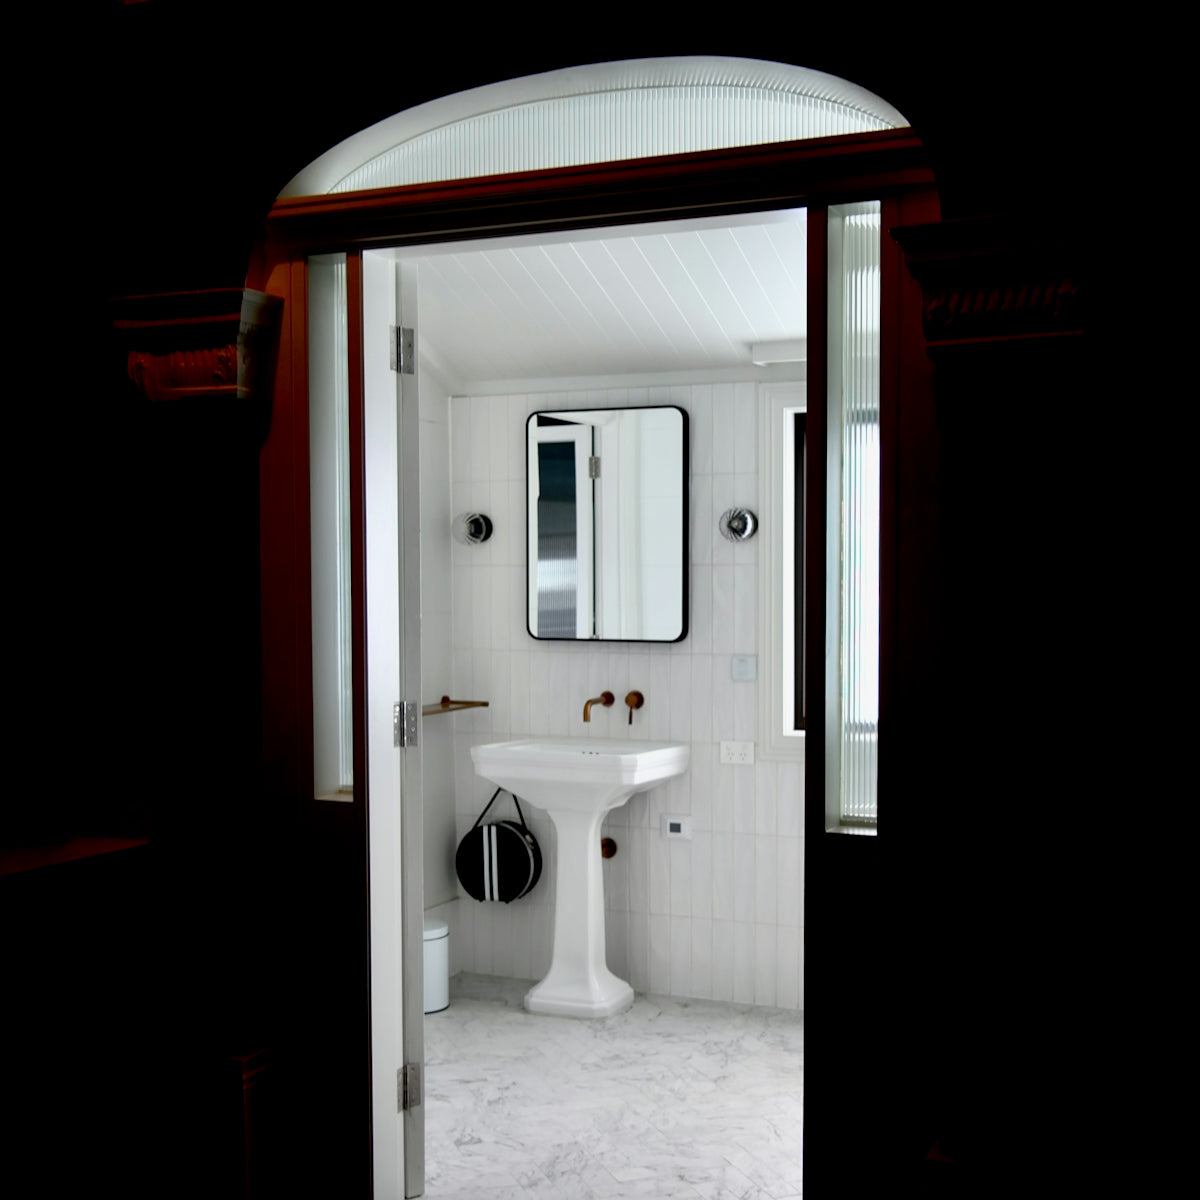
An In-Depth Look at the Installation Process of Bathroom Faucets
Updating your bathroom with a new faucet can transform the space and add a touch of elegance and functionality. Whether you're replacing an outdated model or installing a faucet in a new bathroom, the process can seem daunting. In this blog post, we explore the step-by-step installation of bathroom faucets, with a focus on combining style and efficiency.
Choosing the Right Bathroom Faucet

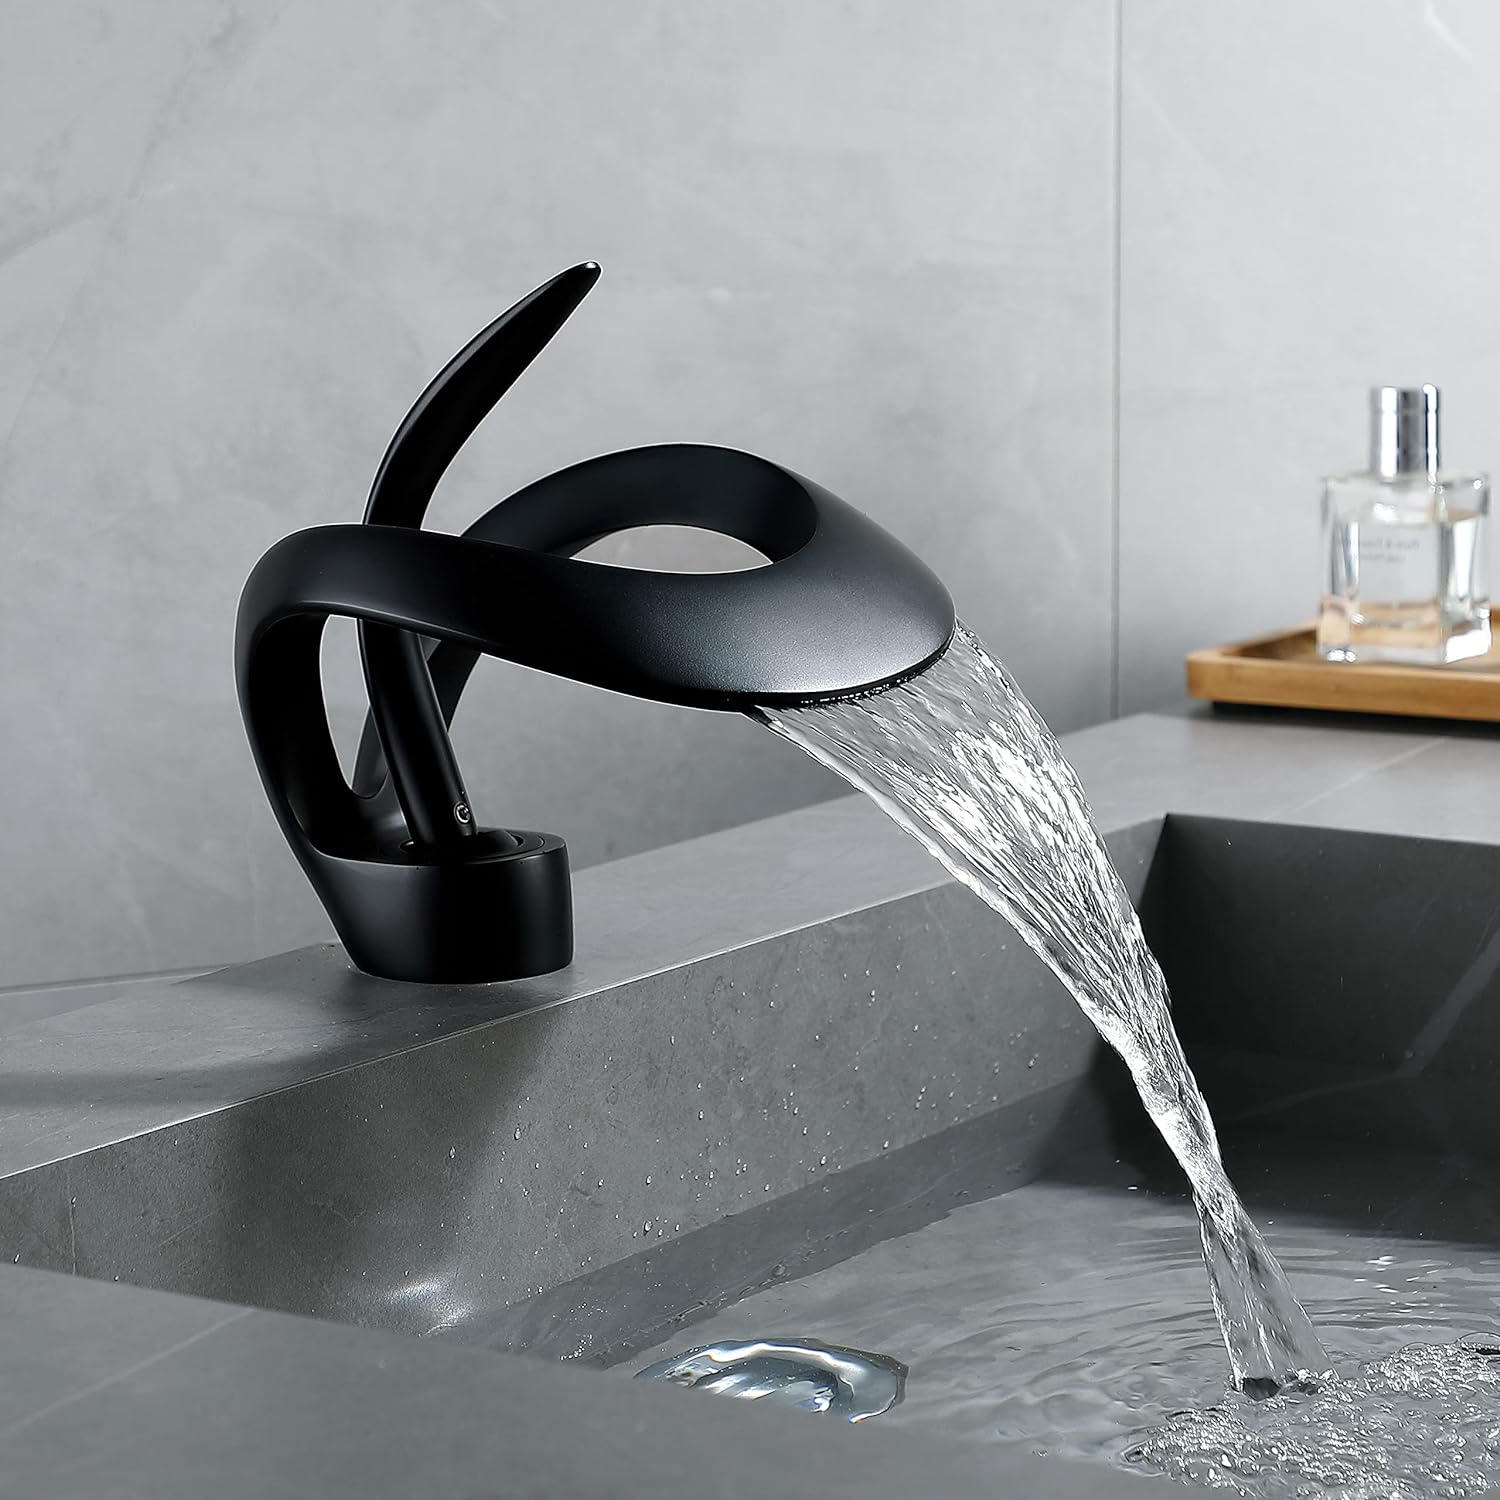
Before diving into the installation process, selecting the right bathroom faucet is crucial. The Halsa - Single Handle Mixer Bathroom Sink Faucet from Paragon Faucets offers a beautiful blend of form and function, perfect for any contemporary bathroom setting. For those who prefer a classic touch, the Kiruna - Antique 360° Swivel Vessel Sink Faucet provides a timeless appeal.
Step-by-Step Installation Guide
Tools and Materials You’ll Need:
- Adjustable wrench
- Screwdriver
- Plumber’s tape
- Basin wrench
- A bucket or towel for water spills
Step One: Prepare the Area
First, turn off the water supply to the sink and place a bucket or towel under the plumbing to catch any water. It's good practice to clear the area of any toiletries or items that could get in the way during installation.
Step Two: Remove the Old Faucet
Using a basin wrench, loosen the nuts holding the old faucet in place. Once the nuts are removed, carefully lift out the old faucet. Clean the sink surface to remove any grime or residue.
Step Three: Install the New Faucet

Position the new faucet in place. For single-hole installations, such as the Halsa - Single Handle Mixer, it's typically more straightforward. Ensure the faucet’s gasket is placed between the sink and the faucet base. Secure the faucet by tightening the mounting nuts from beneath the sink.
Step Four: Connect Water Supply Lines
Attach the water supply lines to the faucet, ensuring the hot and cold connections are correct. Use plumber's tape for a secure fit to prevent leaks. Tighten the supply line nuts with an adjustable wrench, but be cautious not to overtighten.
Step Five: Test the Faucet
Turn on the water supply slowly at first. Check for leaks and make any necessary adjustments. Test both hot and cold water to ensure proper functionality.
Enhancing Efficiency
Apart from style, some homeowners prioritize water efficiency in their bathroom faucets. If that's your preference, you might want to read our article on Understanding Water Efficiency Features in Bathroom Faucets.
Explore More Bathroom Solutions

Paragon Faucets offers a wide range of styles and designs in their Bathroom Faucets Collection that cater to all your needs. Don't miss out on enhancing your bathroom's aesthetic and efficiency.
For those interested in kitchen renovations, choosing the right faucet is just as important. Our article on How to Choose Kitchen Faucets that Match Your Decor provides insights into matching aesthetics with functionality.
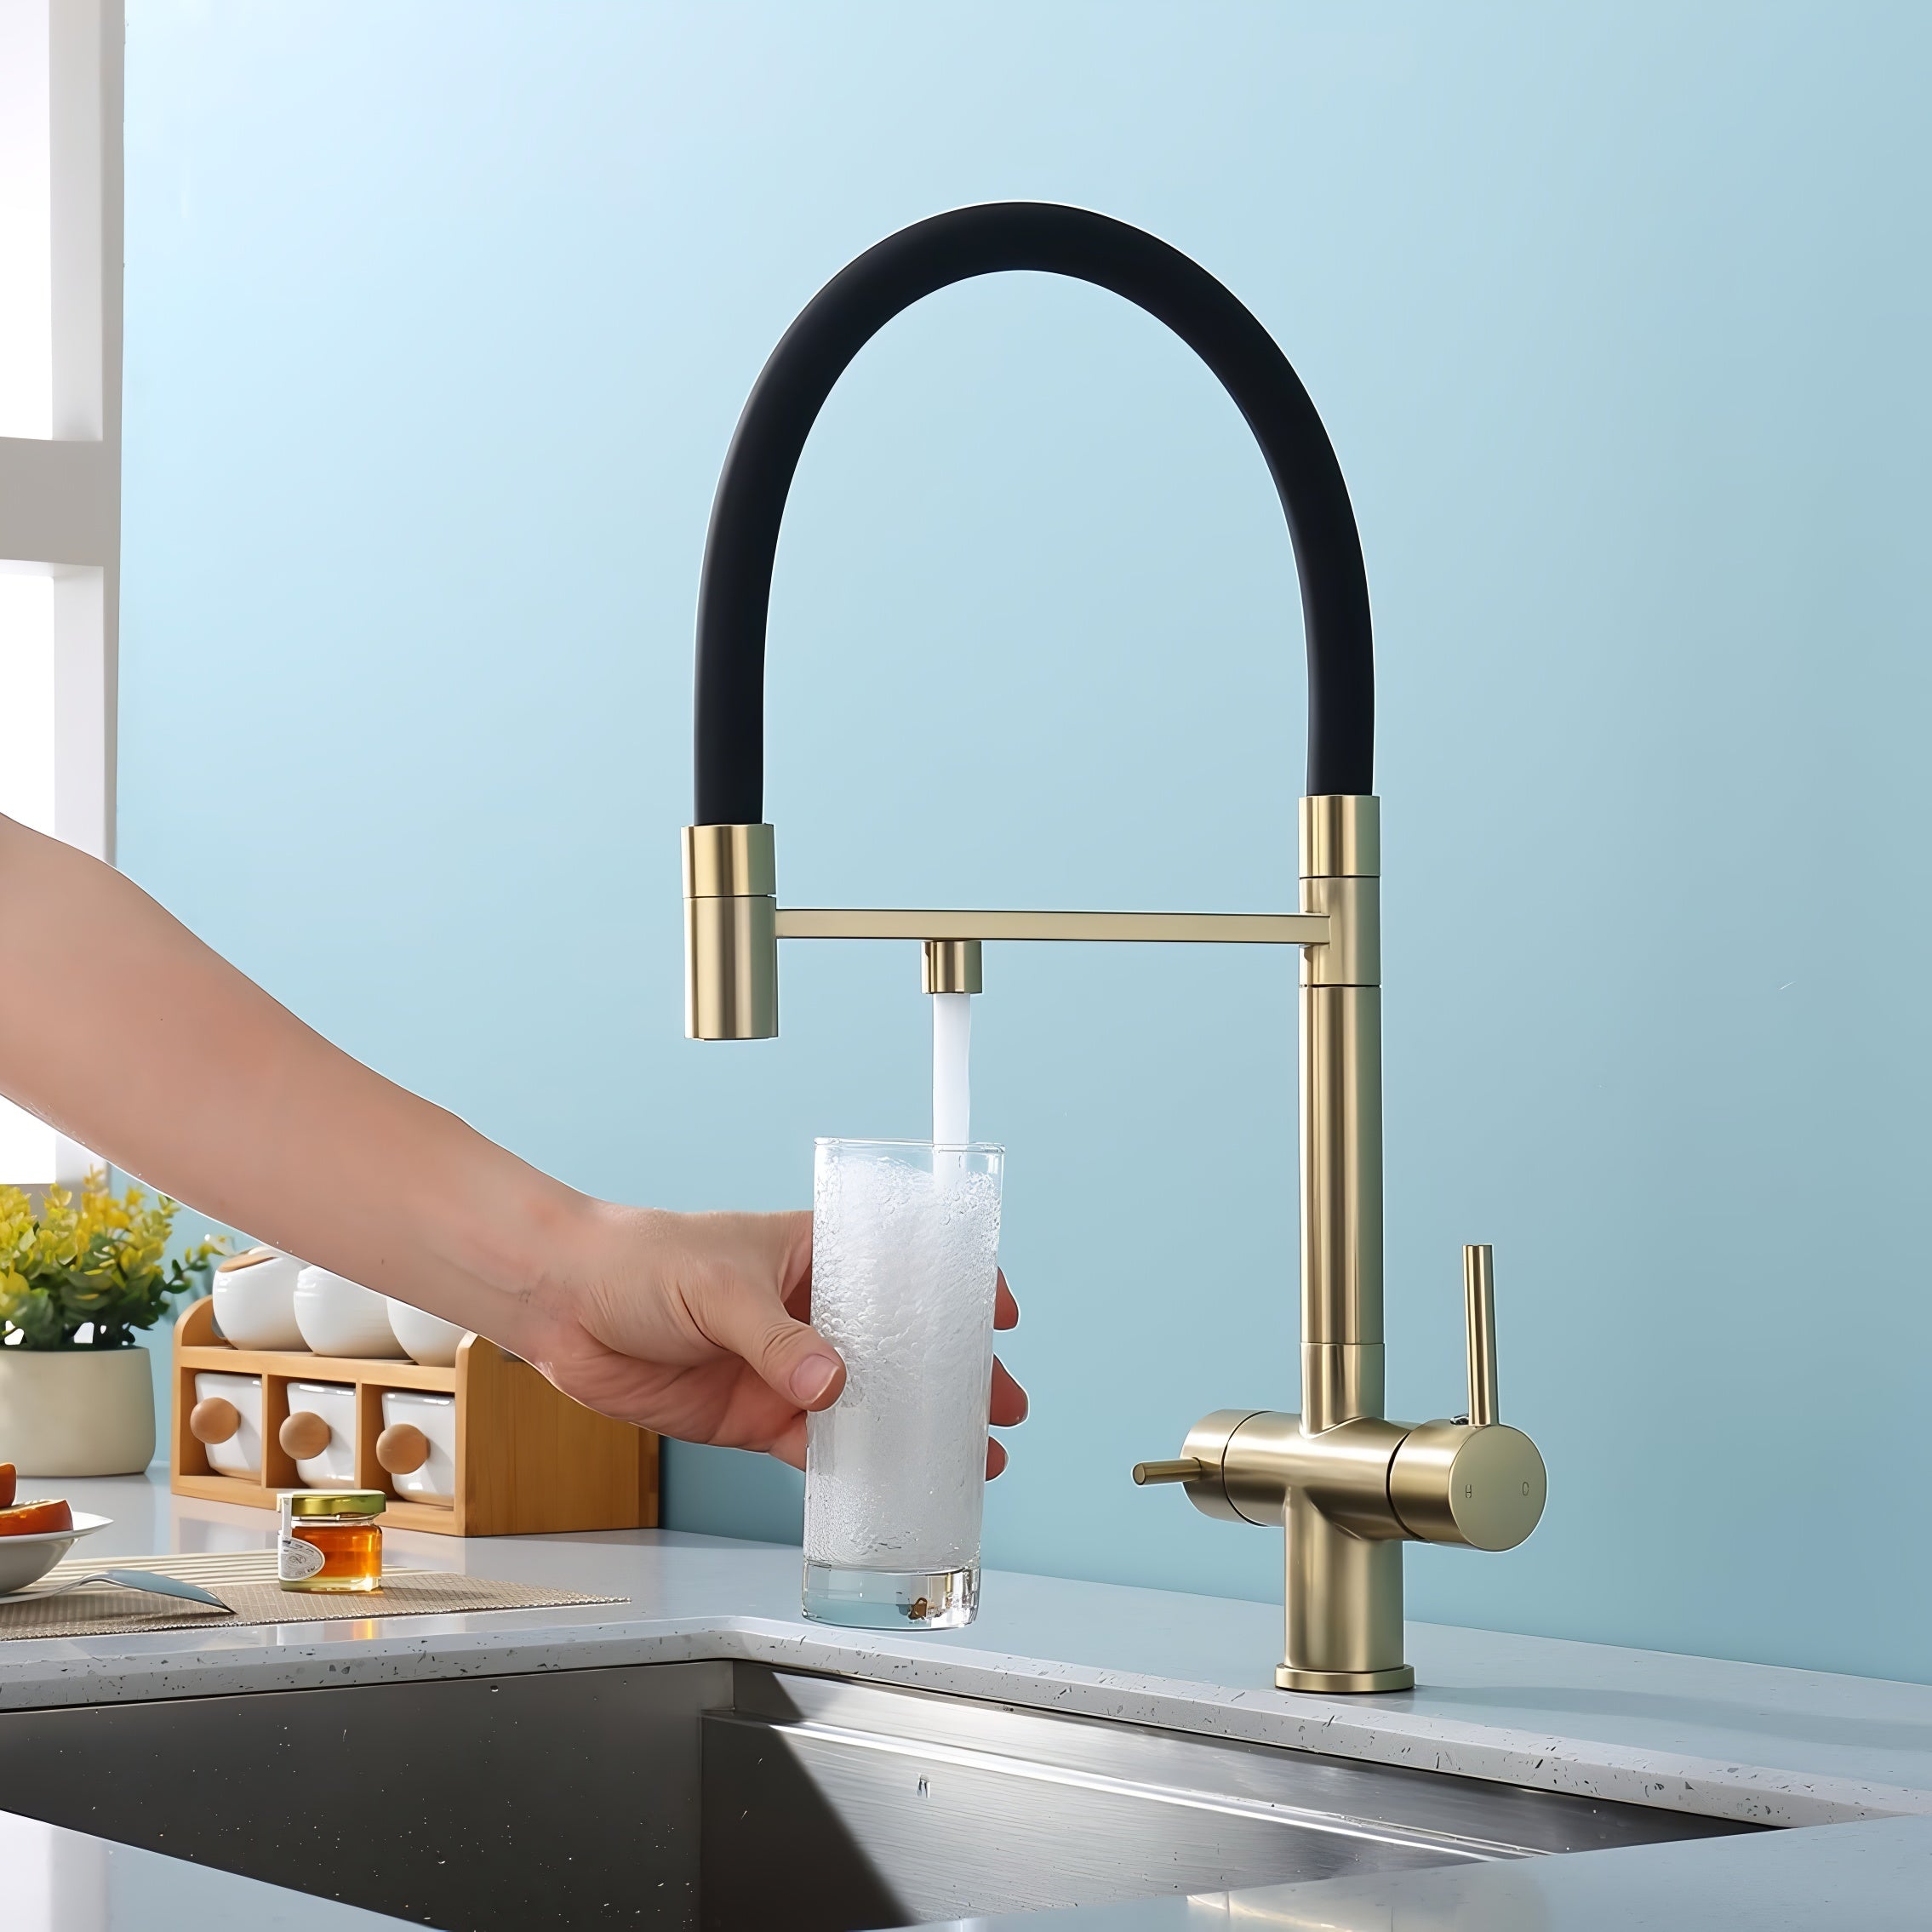
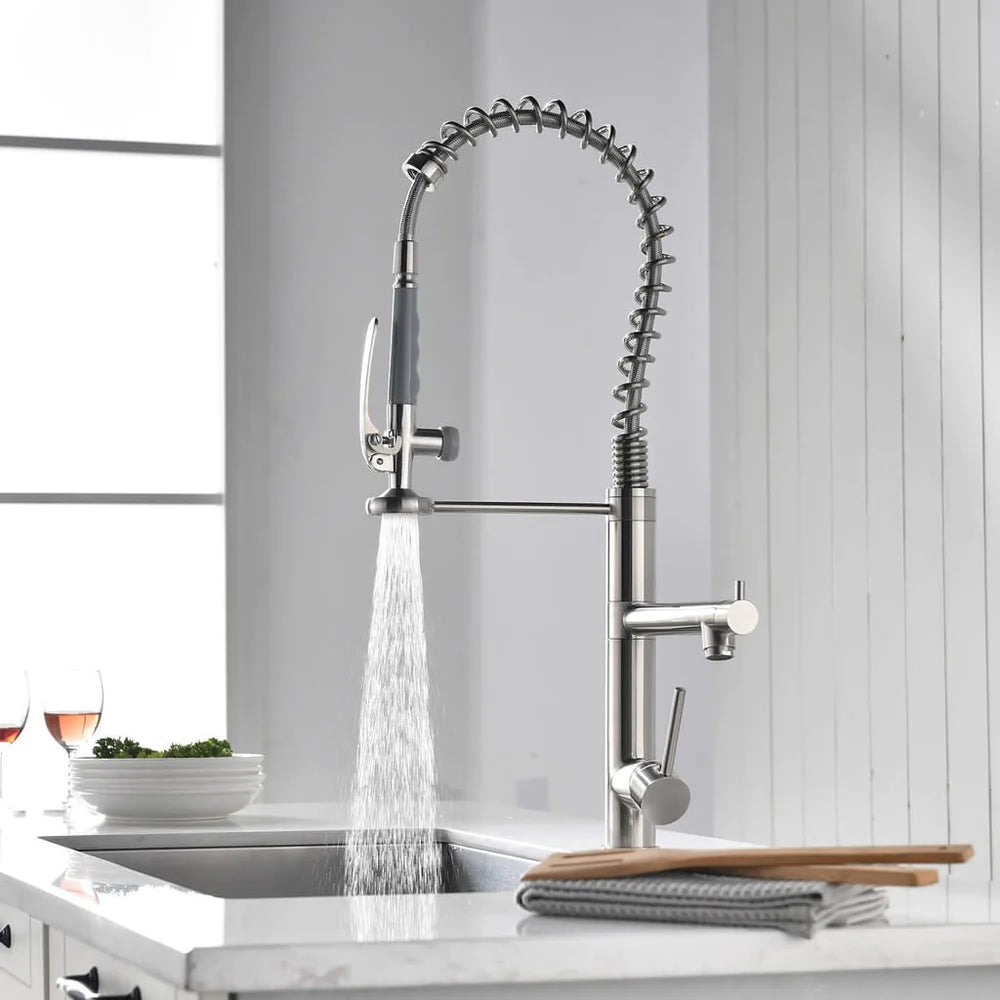
Check out these stylish options for kitchen faucets like the Gothenburg - Pull Down Spray Dual Handle Swivel Spout Kitchen Faucet and the Hornavan - Kitchen Faucet with Pull Out Spout to find the best fit for your kitchen setup. Also, explore our robust Kitchen Faucets Collection.
Visit Paragon Faucets for more information and to explore our exciting range of bathroom and kitchen solutions.

Read more
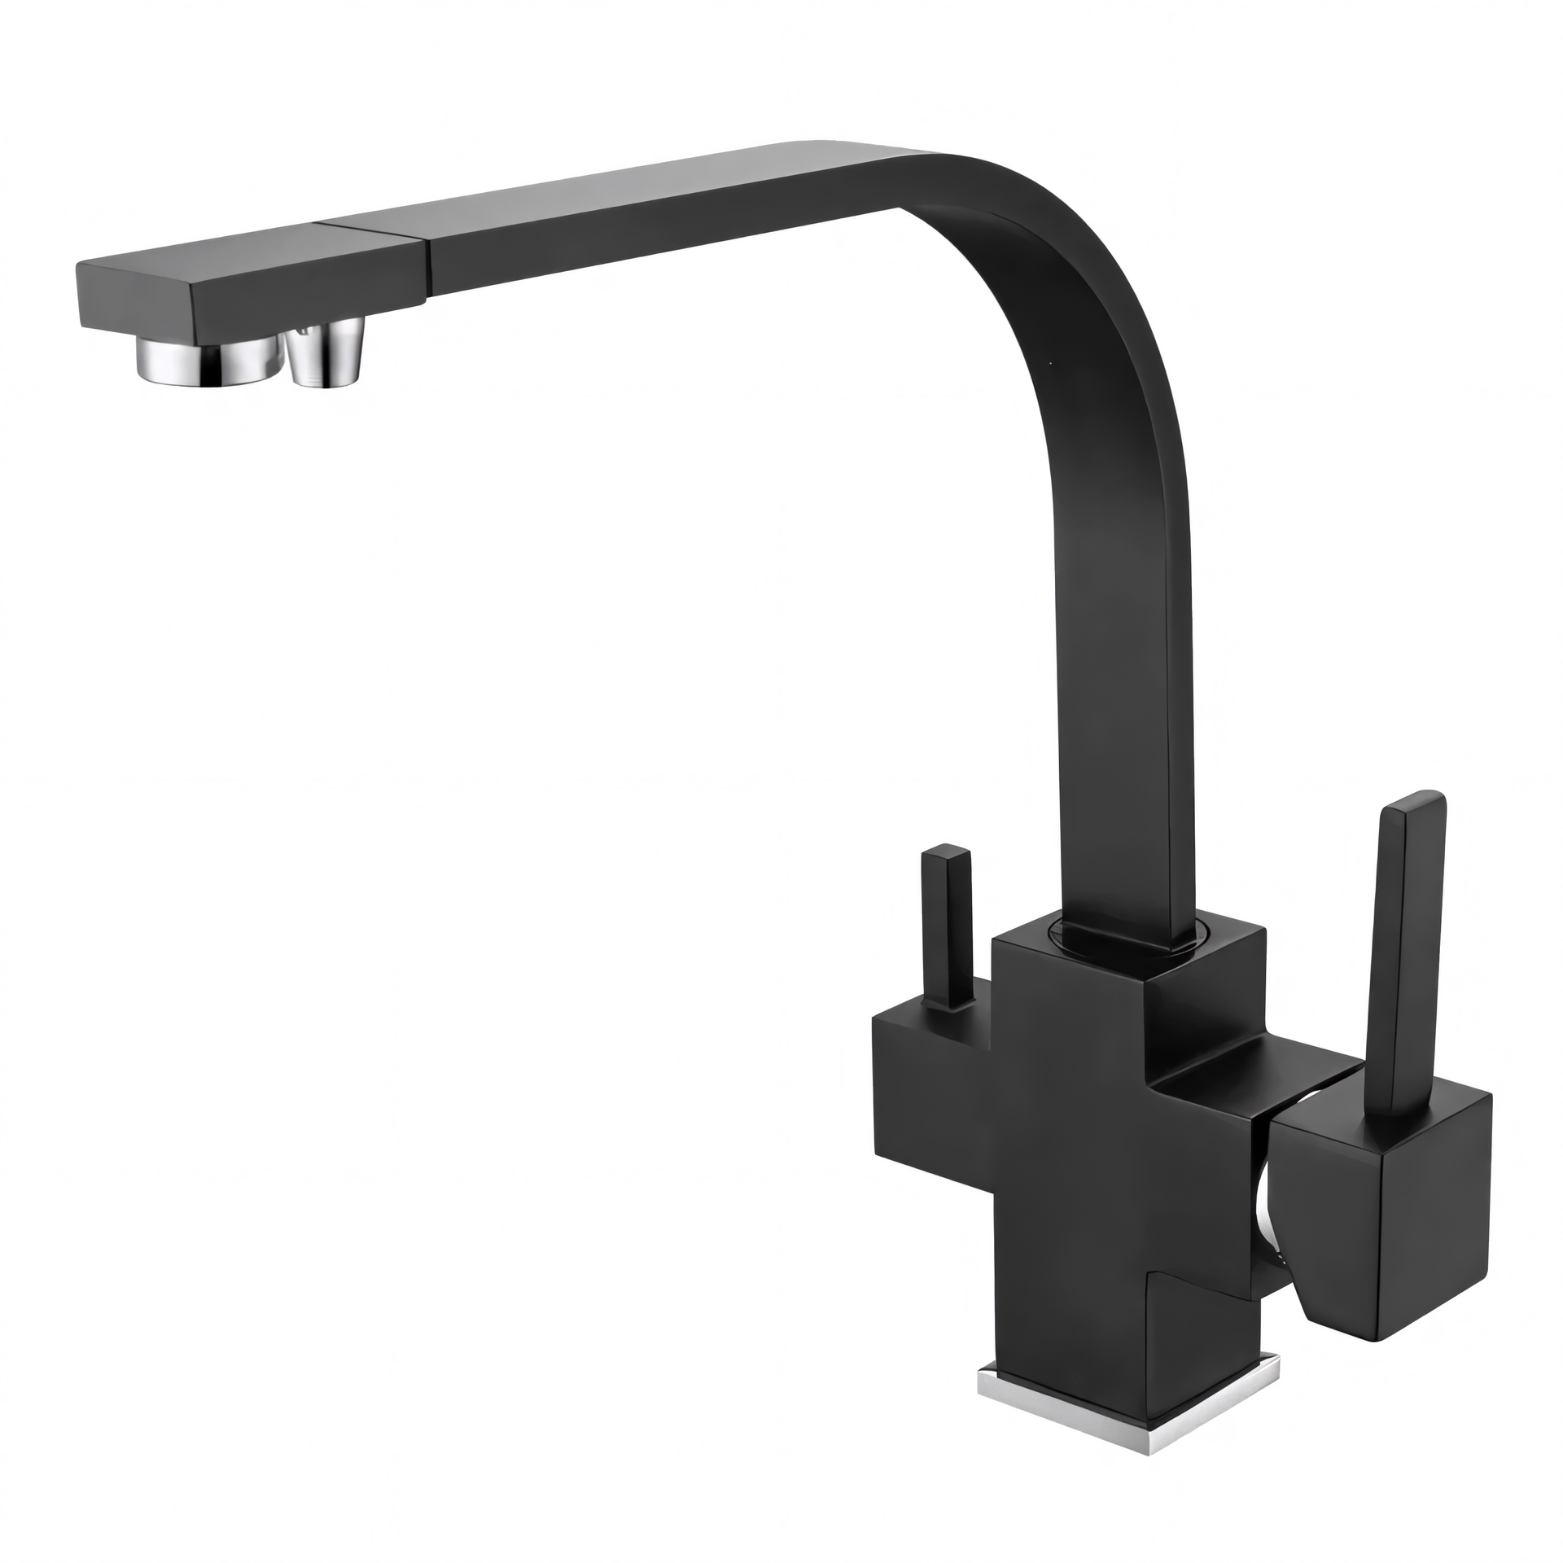
In today's world of modern kitchen design and functionality, choosing the right faucet can significantly enhance your culinary experience. One such remarkable choice is the Augsburg - Three-Way Kit...
Read more
Comparing Faucet Mounting Styles: Kitchen vs Bathroom.
Faucets, though often overlooked, are essential fixtures in our homes' kitchens and bathrooms. Understanding the differences in faucet mounting styles between kitchen faucets and bathroom faucets c...
Read more